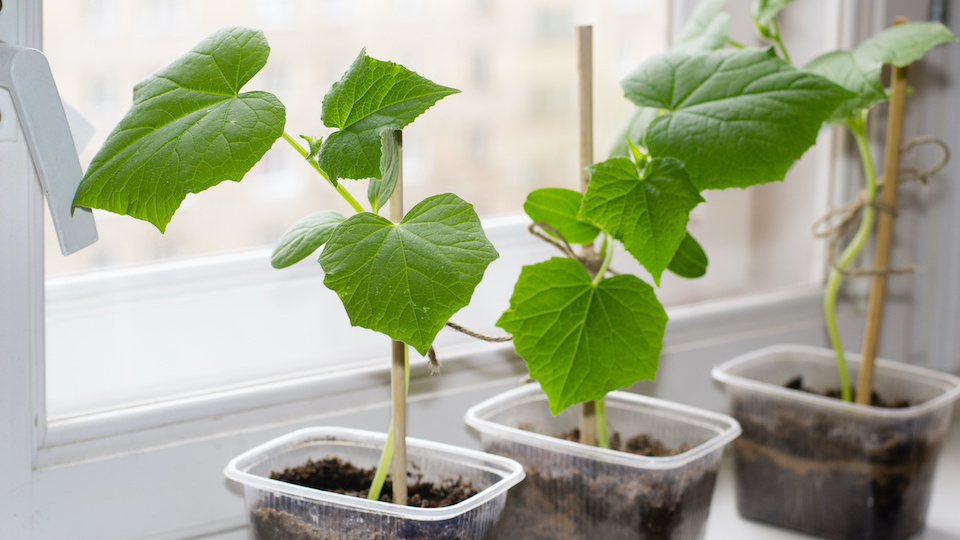
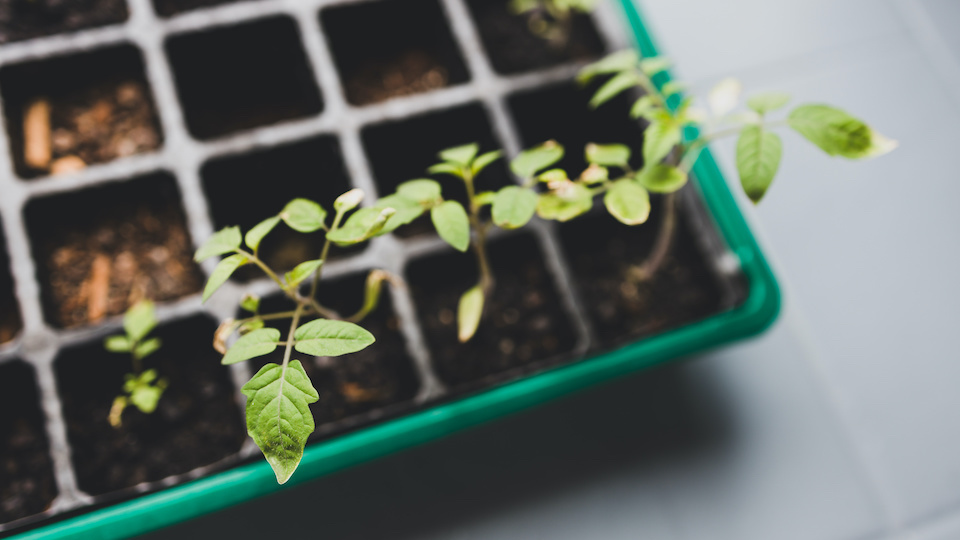
Depending on where you live and what plants you are growing, it is getting close to seed starting time. I love this time of year, when I can start plants indoors to transplant them lovingly into my spring garden. Seed starting time means that garden planting time is just around the corner. No matter when seed starting time is for you, the tips below will help you avoid some common mistakes so that you can give your plants the best start possible.
Here are some of the most common mistakes made when starting seeds indoors and what you can do to avoid them.
Not knowing what to plant or when to plant

Seed starting success depends on knowing what is best to start indoors and when to start the seeds. Starting seeds that are not suited for your climate may end in disaster. Know which varieties will do best in your growing zone before starting any seeds indoors. Once you know which varieties to plant, you have to understand when the best time is to start them.
Starting seeds indoors too soon may result in plants that are ready to be transplanted before it is warm enough outdoors. You may have seedlings on your hands that are too large and growing out of their starting containers. Starting seeds too late may result in plants that don’t mature enough to transplant when the right time comes – these plants may not perform well because of this limited head start. Some seeds don’t even like to be started indoors at all. Examples include carrots and radishes that prefer to be started outdoors once the weather permits.
Not reading seed packages carefully
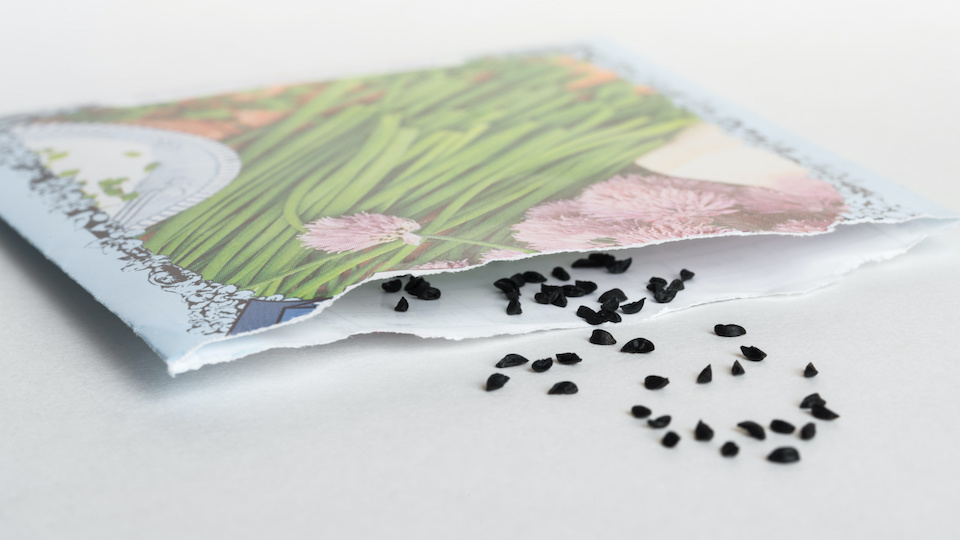
There is a load of valuable information printed on most seed packages. Some packages contain great information on seed starting, planting, germination rate, soil preference, spacing, fertilization, pest control, and success tips.
Not understanding light requirements
Seedlings need at least 4-6 hours of direct sun, not filtered sunlight. If you can’t provide this, grow lights are essential. A south or west-facing window is the best natural light option, but even these windows are not enough in some climates. Carefully assess your sunlight before starting seeds.
The best time to start seeds is ultimately dependent on your growing zone. Be sure to read the description on seeds packages that will give you the best time to start in your climate.
Not knowing how to use grow lights properly
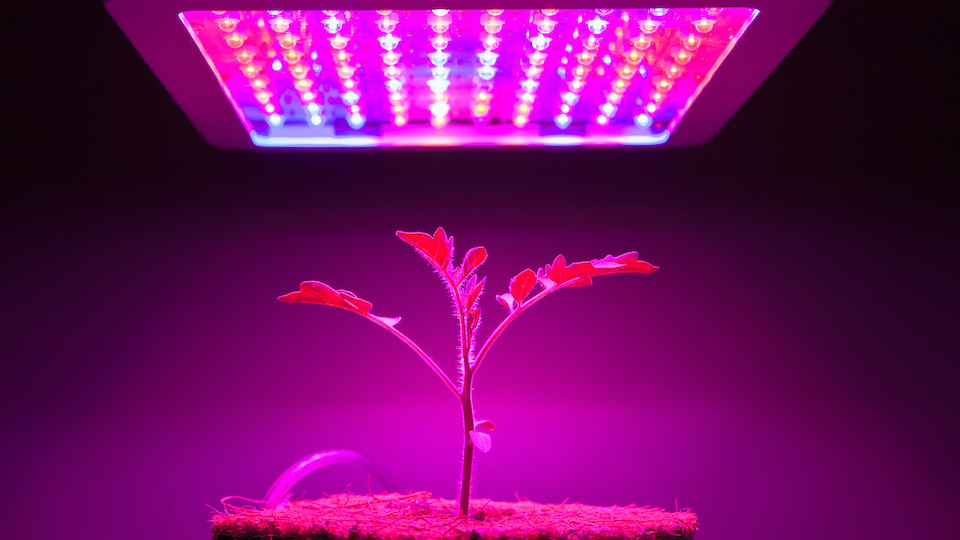
Just having a grow light or some grow lights is not enough when considering seed starting. You must understand that not all grow lights are created equal.
Here is what you need to know about grow lights. There are two critical measurements of grow lights, and they are lumen and kelvin. Lumens refer to the brightness or intensity of a grow light bulb. This number needs to be between 2000 and 3000 for healthy growth. Kelvin is the color of light. The higher the kelvin number, the closer the light is to natural light. Kelvin numbers should be between 4100 and 6500 for starting seeds. So, before you purchase grow lights for seed starting, make sure you understand what you need for success.
Choosing the wrong potting mix
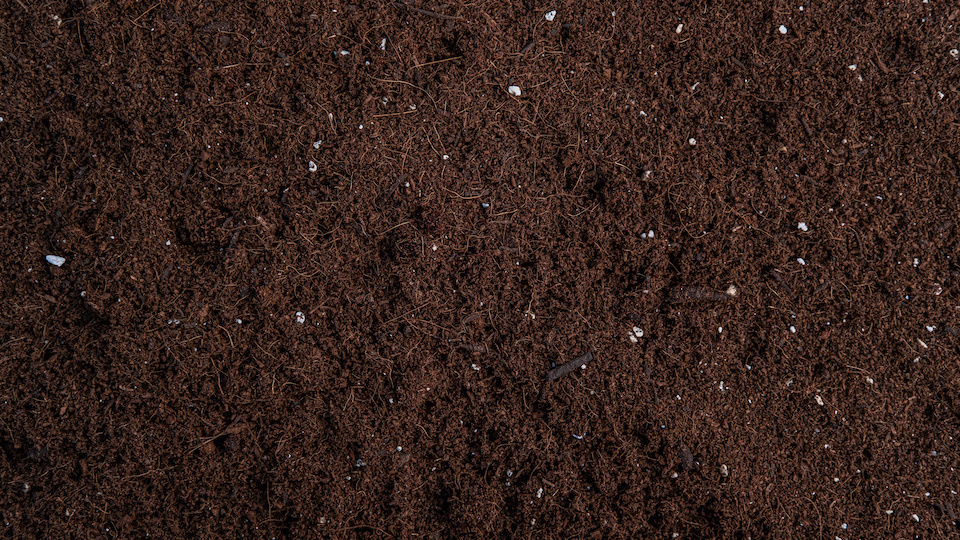
Just like grow lights, not all potting mixes are created equal, and choosing the wrong potting mix to start your seeds may lead to germination issues. Some bagged mixes are too dense to allow the fragile seedling to pop up, while some soil does not allow for proper drainage or is old and may contain diseases or pests.
When setting up for seed starting, always use fresh, clean, bagged seed starting soil. It will feel light and fluffy and allows tiny seedlings to grow with ease. Bagged seed starting mix is also free of pests and diseases and gives plants the best start possible.
I like to add a small amount of richer potting soil with worm casting to the mix – a little goes a long way, so don’t overdo it. When you mix in a bit of richer material, plants have the nutrients they need as they grow.
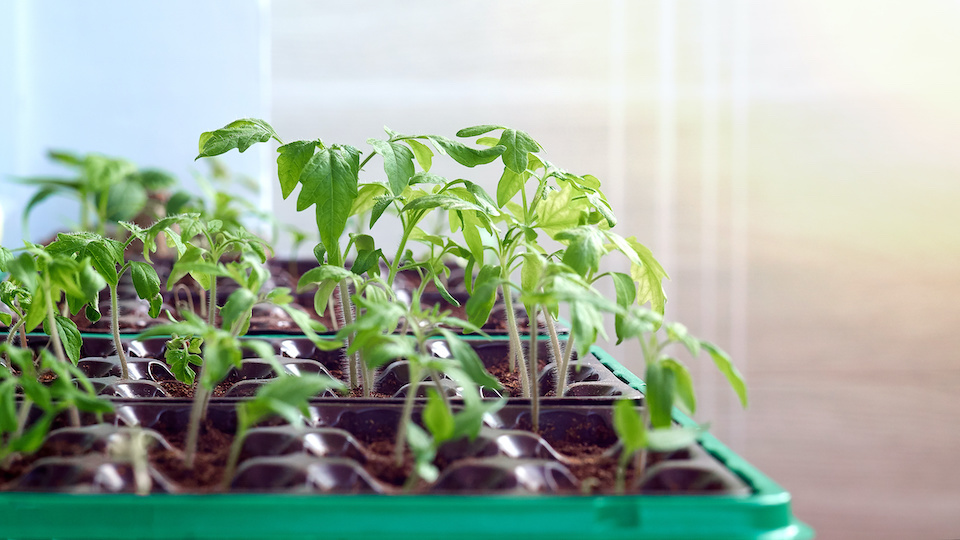
Forgetting to keep seed trays warm
Most seeds need warm temperatures to germinate; around 70 to 80 degrees F is best. Seeds given the right amount of warmth will quickly sprout and mature. Without proper heat, germination is difficult, and growth is stunted.
Note: Some plants, like onions and peas, like it cooler to germinate – around 50-60 degrees F is best for these crops.
For seeds that like it warmer, be sure to keep your starting trays in a warm area of your home – I sometimes use the top of my refrigerator or next to a sunny (but not drafty) windowsill. Gardeners in cooler climates may find a heat mat a handy tool when sprouting seeds. It allows you to keep the soil at a constant and just right temperature. Be careful not to let the mat heat up to over 95 degrees F – this can sterilize and kill seeds. Also, consider using a humidity dome over your seed tray – this helps trap moisture and heat and speeds up germination. Just remember to take the lid off once the seedlings start to grow a bit.
Too much or too little water
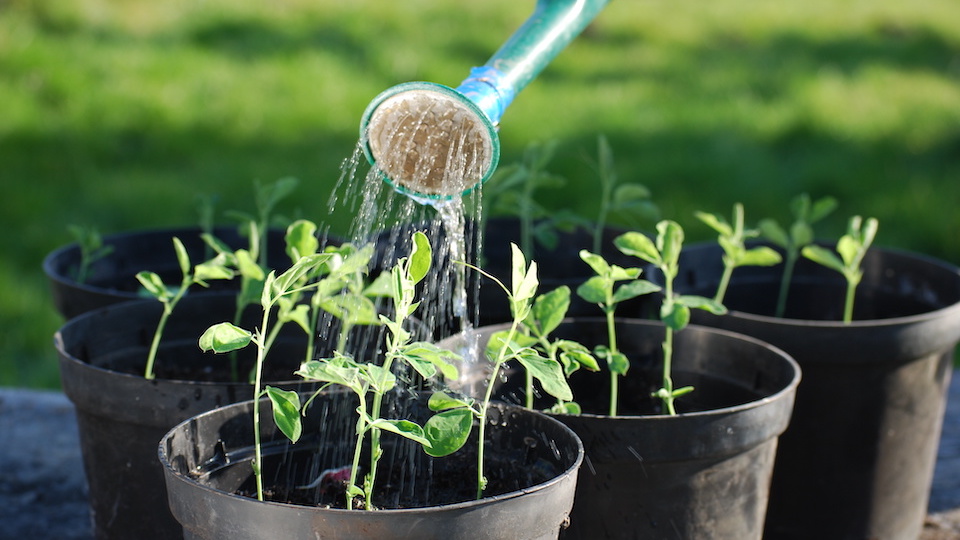
Too much water will drown seedlings, and too little cause them to dry out and die. While overwatering and underwatering both spell disaster for young plants, over-watering is a far more common mistake and one that offers no grace – drowned plants will not come back. However, it is possible to revive an underwatered seedling if you catch the problem soon enough. Inconsistent watering also causes problems and stresses out seedlings, making them weak and susceptible to failure.
After your seedlings sprout, the best way to water them is from underneath. Add water to the tray that the seedling containers are sitting in. Doing this allows the tiny plants to take up water as they need it and eliminates the risk of over or under-watering.
Happy Growing,
-Susan, CBHC, Master Gardener