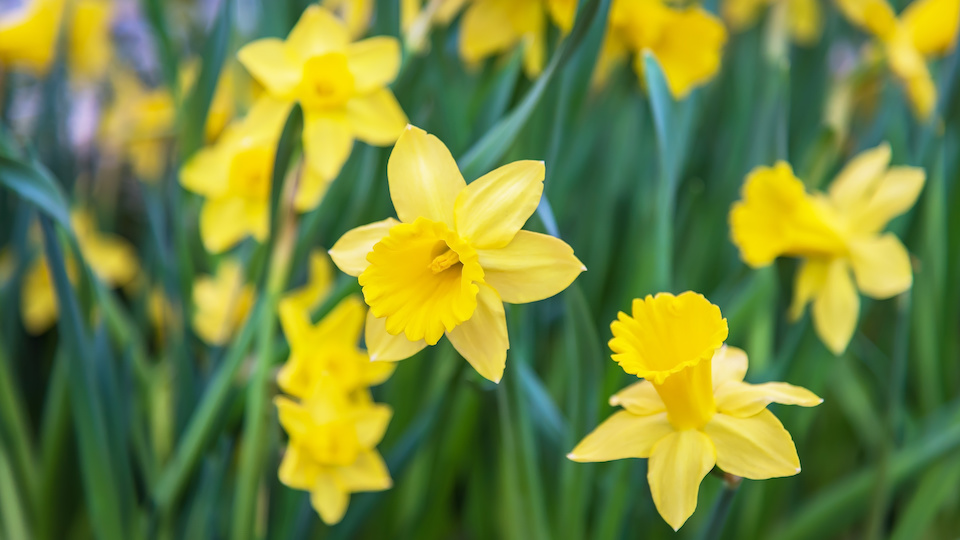
Bright and cheery yellow daffodil blooms are one of the first signs of spring, with many gardeners awaiting this joyous flower with anxious anticipation. They stick around for just a few short weeks but herald the main growing season with a spectacular display. Thankfully, these hardy plants are incredibly easy to grow and care for, simply follow these few tips, and you’ll have thriving daffodils in no time.
Remember, since the blooms last such a short time, and these plants are so easy to grow and care for, it makes sense to plant them in virtually any available or empty spot in your garden. Have a fence line that you don’t know what to do with? Daffodils. An empty bed around your mailbox? Daffodils. Plus, they are excellent cut flowers and will look great as a centerpiece on your dining room table. Hint: Avoid combining cut daffodils with other flowers as the stems secrete a fluid that can cause other flowers to wilt.
When choosing your bulbs, be sure to pick a variety that will do well in your area as there are over 50 species and more than 25,000 registered cultivars or hybrids of this popular plant.
Planting
When
Planting daffodil bulbs correctly and at the right time is the key to having happy plants in the spring. If you live in gardening zones 4-6, plant the bulbs as soon as they show up in your local gardening stores and nurseries in early fall or around two weeks before your first expected frost.
Where
Though daffodils are fairly hardy, they will do best in full sun or partial shade. They need that early spring heat from the sun to break through frozen ground and bloom while everything else in the garden is still sleeping.
Choose a location with well-draining, reasonably fertile soil that has organic compost mixed in. Though they don’t necessarily need the extra nutrients, it will help them grow strong and produce vibrant blooms.
Try to plant them in groups of at least ten bulbs. Otherwise, the small plants may look out of place and unintentional. Create designs or clusters with the bulbs to produce that desired “spring explosion” effect. Try to keep varieties together instead of mixing colors and types as that will look more chaotic and could lead to one color overpowering the other.
How
Dig a small hole about three to five inches deep and place the bulb in, pointed side up. Place each bulb around three to six inches apart to allow for healthy growth. If you are planting along a fenceline or sidewalk, it may be easier to dig a trench instead of individual holes. Be sure to water the bulb thoroughly at the time of planting and again in the spring. You can cut back on water when the plants are dormant in the heat of the summer.
Mulch the planting area with whatever mulch you are using in the rest of your garden. This will help protect the bulbs during the freezing winter but will still allow them to experience the cold snap they need to grow.
Care
Yes, daffodils are low maintenance, but that doesn’t mean they’re no maintenance. To ensure that your plants keep coming back for years, there are a few things you should watch out for.
Fertilizer
Daffodils don’t usually need fertilizer, but if you planted them in particularly nutrient-deficient soil and they aren’t blooming as much as they should be, add bone meal or bulb food to the soil when the first leaves peek out of the ground in early spring.
Deadheading
Pinch the spent blooms off of the daffodil stems once the flowers fade in late spring to keep your garden looking tidy. Let the leaves continue to grow until they turn brown. This step is essential because it allows them to store energy for the next growing season. Once the leaves have started to die off, cut the plant to the ground with shears.
Dividing
Divide your daffodil clumps every three to five years or when you notice that the blooms aren’t as large or as vibrant as this could be a sign of overcrowding. Divide when the foliage is dying the summer but before you cut it down. Share daffodil transplants with friends and neighbors or replant them elsewhere in your garden.
-Susan Patterson


