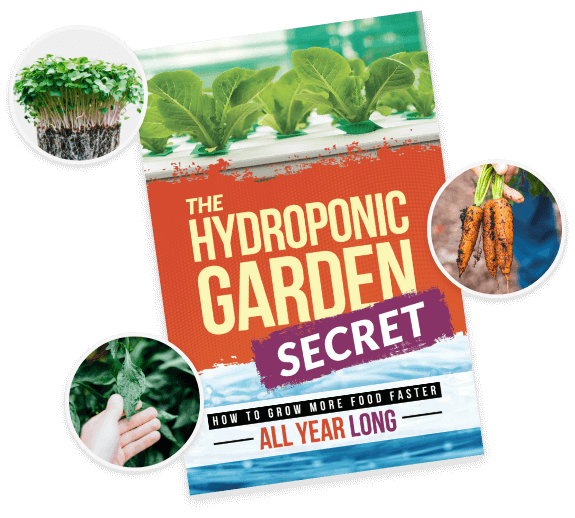
Don’t let the word “hydroponic” scare you. Although large-scale growers use this system to grow massive amounts of produce in a short period of time, the system is not limited to commercial agricultural use. You can make your very own inexpensive hydroponic system at home and get started right away to grow tasty produce all year long.
While there are many variations of hydroponic systems, one of the easiest ways to make one at home is using what is known as DWC (Deep Water Culture). This is where the plant roots are suspended in a solution of nutrient-rich, oxygenated water.
This system is best for long-term crops that produce a lot of fruit and need a lot of water like tomatoes, cucumbers, and melons.
Before you build your hydroponic garden, do this
Find a suitable location for your hydroponic system. A greenhouse or a basement works well for an indoor space. If you are going to grow outside, a patio or a deck makes a great spot. Make sure that your system is protected from strong winds and too much hot sun. You will need sunlight or grow lights for your system to work appropriately. The floor of your space must be level so that there is an equal distribution of water and nutrients.
What you need
- 5-gallon black bucket
- A net cup that fits directly on the top of the 5-gallon bucket
- Air stone for aeration ( 6-10”)
- Air pump for oxygen
- 3⁄4” air hose
- Check valve
- Drill and 3⁄4” drill bit
- Hydroton clay pebbles
- 20-20-20 water-soluble fertilizer with minor elements
- Epsom Salts (or Magnesium sulfate)
- Small transplants
How to make it
- Position your bucket where you want your hydroponic system to be.
- Cut a couple of inches off the end of the air hose.
- Connect this piece to your air pump.
- At the other end of the air hose, connect the check valve according to the instructions.
- Take another piece of air hose that is long enough to run from the check valve to the bottom of the bucket (the longer the air hose, the less effective the pump will be).
- Drill a hole for the tubing near the top rim of the bucket.
- Push the hose through the hole to be sure it fits.
- Place the air stone in the bottom of the bucket.
- Attach the hose to the air stone and also to the air pump.
- Fill the bucket 70% full of water.
- Add 2 teaspoons per gallon of water of 20-20-20 water-soluble fertilizer with minor elements and 1 teaspoon per gallon of Epsom salts.
- Turn on the pump to see if it is working – you should see bubbles.
- Place a net pot on top of the bucket.
- Add the clay pebbles to the net pot.
- Place your plant into the net pot and add more pebbles to hold it in place until the roots start to grow.
Happy soilless growing!
-Susan Patterson