Water features can add a lot to any backyard space or garden. They can create an aura of tranquillity on a soothing, atmospheric patio, or bring a unique flair to your garden oasis. While ponds, water fountains, and other more extensive water features are impressive, the cost and time involved can certainly add up. This simple bubbler water feature is budget-friendly and can be assembled in an afternoon. Plus, it is highly customizable and can be personalized to fit your individual style. Here’s how to make an outdoor bubber water feature in just 7 easy steps.
Step 1: Purchasing the supplies
Take a trip to the hardware or home store and purchase supplies needed for this project. If you already have empty pots that you would like to use, that is fine and could even help save you some money. It is best to use heavy-duty plastic pots (at least for the upper pot to make drilling easier). You can select the ones that look like fake stone for a classier style.
- Submersible pump
- Clear vinyl tubing (whatever size goes with your pump)
- 1 small and one large waterproof pot. Be sure that they don’t have drainage holes
- something for the small pot to sit on. This is usually an upside down pot or a brick or cinder block depending on the size of the pot
- Drill and bit
- Several medium-sized rocks
- Bag of pea gravel or small decorative river rock
- Clear waterproof silicone caulk or sealant
Step 2: Assembling the fountain
Once you have gathered all the supplies for your bubble fountain, it is time to assemble it. Keep in mind; once everything is put together and all the rocks are in your fountain, it may be difficult to move. The best idea is to assemble the fountain in its final location.
Place the upside down pot or brick in the center of the larger pot. Add a few of the larger rocks along the bottom to keep everything in place. Find a spot around the outer edge of the large pot where the pump can rest securely. Place the small pot on the brick or upside down pot.
Step 3: Arranging the cord
Place your fountain in a corner or against a wall near an electrical source. That way, you can simply drape the electrical cord over the edge of the large pot and plug it in without it being an eyesore. Arrange the cord before you move on to the next step but don’t plug the fountain in yet.
Step 4: Drilling the hole
Your drill bit only needs to be large enough to make a hole that just allows the tubing to pass through. Once everything is in place, drill a hole towards the bottom of the smaller pot.
Step 5: Connecting the tubing
Connect your tubing to the pump in the bottom of the pot and feed it through the hole you drilled in the smaller pot. It may be helpful to layer some of the larger rocks around the tubing to help keep it in place. You want to make sure that the end of the tube will rest just below the water line in the upper pot. Wait to trim the tube until everything else is completed.
Step 6: Seal the hole
Using your clear silicone caulk or sealant, thoroughly seal the hole to prevent water leakage. Wait approximately 24-48 hours or the recommended time on the tube of silicone. After waiting, be sure to test your seal to ensure that it is waterproof. Add more caulk if needed.
Step 7: The fun part
Now that you’ve made it through the nitty-gritty of assembling your fountain, it is time to have a little fun and make it pretty. First, don’t forget to trim your tubing to the proper length if you haven’t already.
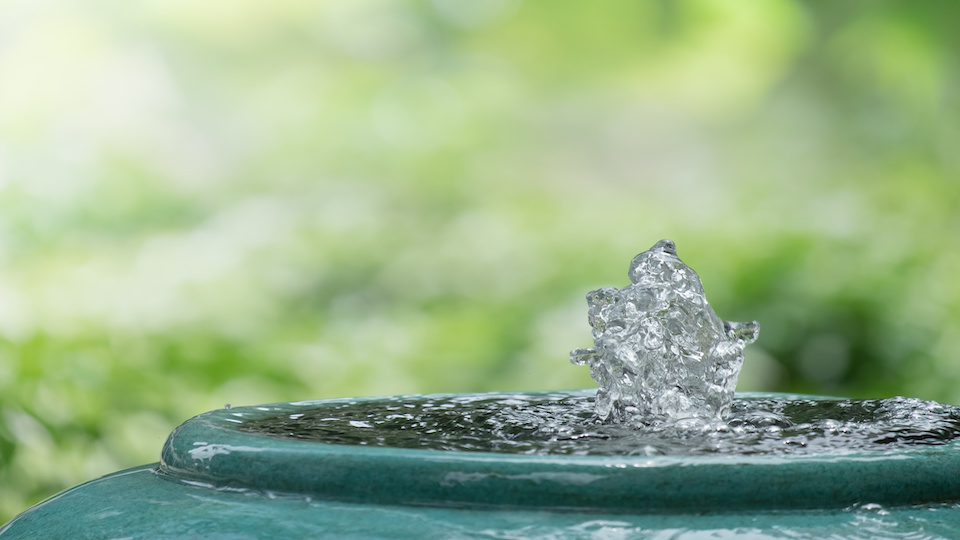
Add larger rocks as needed to fill the bottom of the small pot. Fill the rest with decorative gravel up to a few inches below the rim of the pot. You can add more rocks to the large pot but be sure not to cover the pump. Fill with water, plug in, and bask in the peaceful bubbling of your newest water feature!
Have you ever made your own water feature? Let us know in the comments below!
-Taylor Ramsey