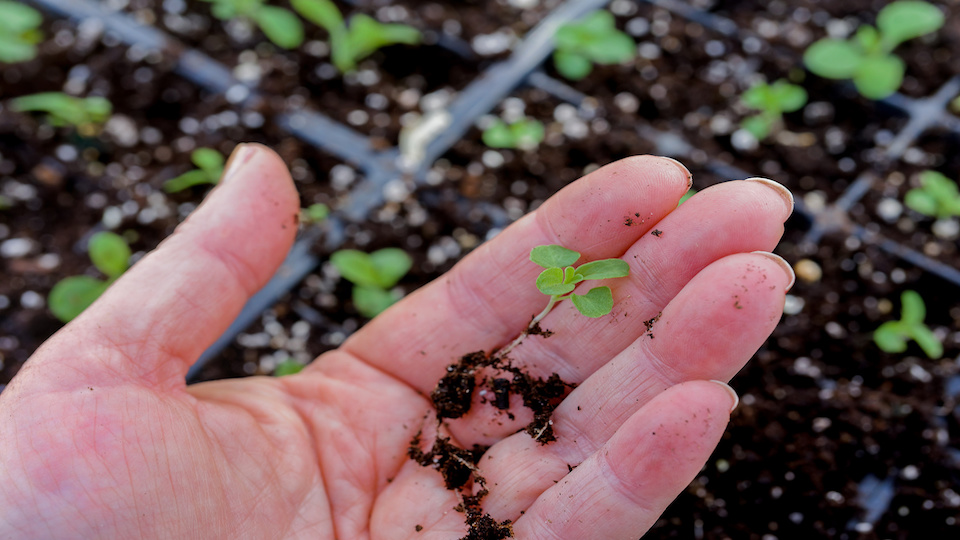
Seed-starting isn’t difficult as you may think, and it’s a lot of fun to plant flower and vegetables you have grown. There are several things you can do to ensure your seeds will germinate and grow to maturity.
Read on for a few basic tips for seed-starting success.
- Start with fresh, high-quality seed-starting mix. Don’t use standard potting mix, which isn’t fine enough for germinating seeds.
- Read the seed packet carefully before you begin. Some seeds, especially tiny ones, can be just pressed into the surface of the moist seed starting mix. Others, like cucumbers, are covered with more potting mix.
- If you’re in doubt, plant seeds about two or three times as deep as their width. Keep in mind that planting seeds too shallow is always better than too deep because too much potting mix will block the light.
- Don’t start your seeds too early. Read the container for specific information, but in general, most seeds should be planted four to six weeks before you can safely transplant them outdoors after the last frost of the season.
- Be ready for some losses and don’t be discouraged; it’s normal for a certain number of seeds not to germinate.
- Use clean containers. The type of container doesn’t matter as long as it has a drainage hole in the bottom. Some people prefer peat pots or seedling flats, but you can also use cottage cheese containers or plastic beverage cups.
- Invest in a heat mat, which will provide gentle heat that keeps the potting mix consistently warm until the seeds germinate. If you’re only planting a few seeds, put the containers on top of a refrigerator or other warm appliance. (No lights are needed for germination).
- Be sure to label the containers so you don’t forget what you planted. Mark the containers with a permanent marker, or write the name of the plant on popsicle sticks.
- Cover the containers with clear plastic to keep the atmosphere warm and moist.
- Remove the plastic and place the containers under lights when the seedlings are about half an inch tall. Without adequate light, seedings will be tall, spindly, and more prone to disease. You may be tempted to place the seedlings near a window, but light from a window is inconsistent and rarely bright enough.
- Although you can purchase grow lights, plants do just as well under less expensive fluorescent shop lights. Put one warm bulb and one cool bulb in each fixture.
- Leave the lights on for 12 to 14 hours every day. A timer is a good investment if you tend to be forgetful.
- Be sure to water seedlings consistently. A spray bottle with a mister works fine if you’re starting only a few seeds, but a turkey baster works better for large numbers of containers.
- Be careful not to overwater; excessively soggy soil is the number one reason for seed-starting failure. The seed starting mix should be moist, but never dripping wet.
- Brush the palm of your hand gently over the tops of the seedlings to promote stronger stems. A fan set on low and placed near the seedlings serves the same purpose.
- Once true leaves appear (following the tiny seedling leaves), begin feeding the seedlings every week. Use a general-purpose, water-soluble fertilizer mixed to half strength.
- Keep the seedlings indoors until you’re absolutely sure the last frost of the season has passed. A sudden cold snap can make short work of your carefully tended plants.
- At this point, it’s essential to “harden off” the seedlings, which gives them time to acclimate to the cooler outdoor air. Begin by placing them in a sunny, protected outdoor spot for about an hour every day for three days, preferably in the morning. Increase their time outdoors for an hour or two every day for a week. By that time, the seedlings should be strong enough for transplanting.
-Mary Helen Dyer


