The fresh taste of herbs adds an element of excitement and allurement to any dish. Rather than having to run to the store each time you need some fresh herbs, why not grow your own in your very own upside down recycled indoor herb garden. Your herbs will be hanging right there – ready for harvest and for culinary inspiration.
Anyone can make these simple herb garden projects that require little time, talent or money. What are you waiting for, grow some herbs today!
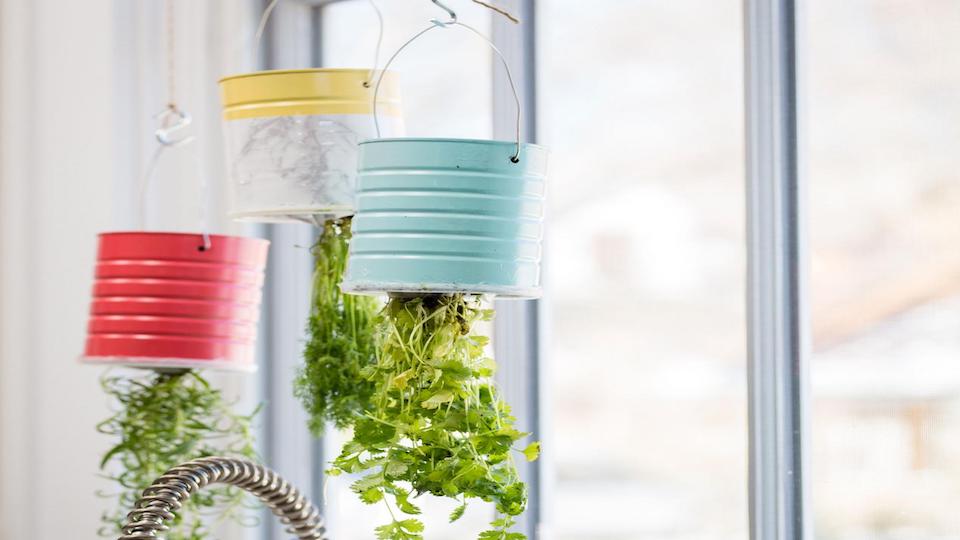
Upside Down Hanging Metal can Herb Garden
This garden is perfect for those of you who lack space. Simple, cheap and super easy to make, this upside down hanging herb gardens puts herbs right at your fingertips and looks great in a sunny window.

Pallet Herb Garden Planter
I love the rustic look and feel of this pallet herb garden. If you have a back patio, fence or even a brick wall that you would like to spice up, this herb garden does the trick. One bit of advice on this project is to try to start with clean pallets – don’t choose pallets that have rusty nails sticking out etc. The time you spend searching out clean pallets will be well worth it!
Watch the video below to make your very own pallet herb garden.
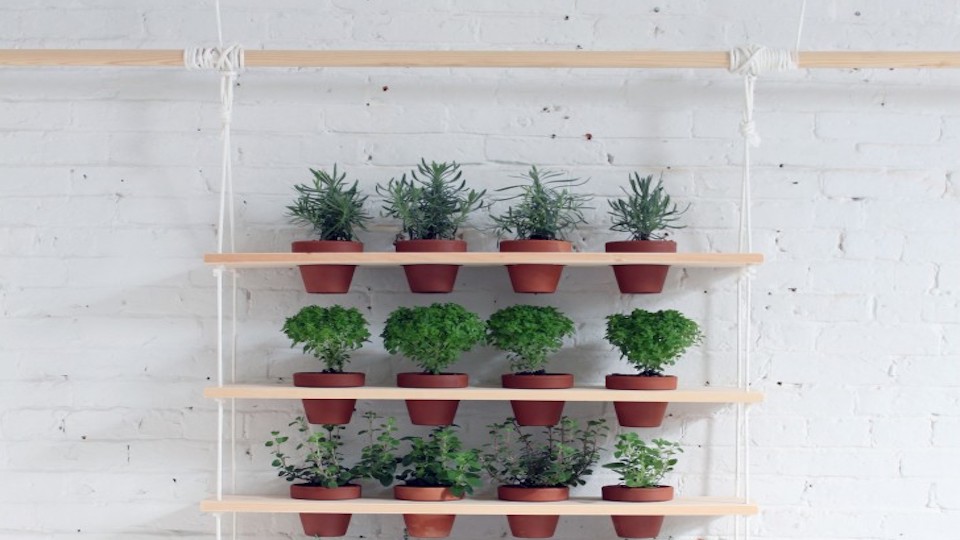
Hanging Herb Garden Shelf
This project can be made for indoors or outdoors and scaled up or down depending on your space. If you want a rustic feel to your project – whitewash your terracotta pots first and paint the names of the herbs on the pot – so cool and cute!!

Clothespin Herb Planters
Can you say cute? These planters are sweet and make a great gift for friends and neighbors. They can put together in no time and make an amazing place to showplace your favorite herbs.
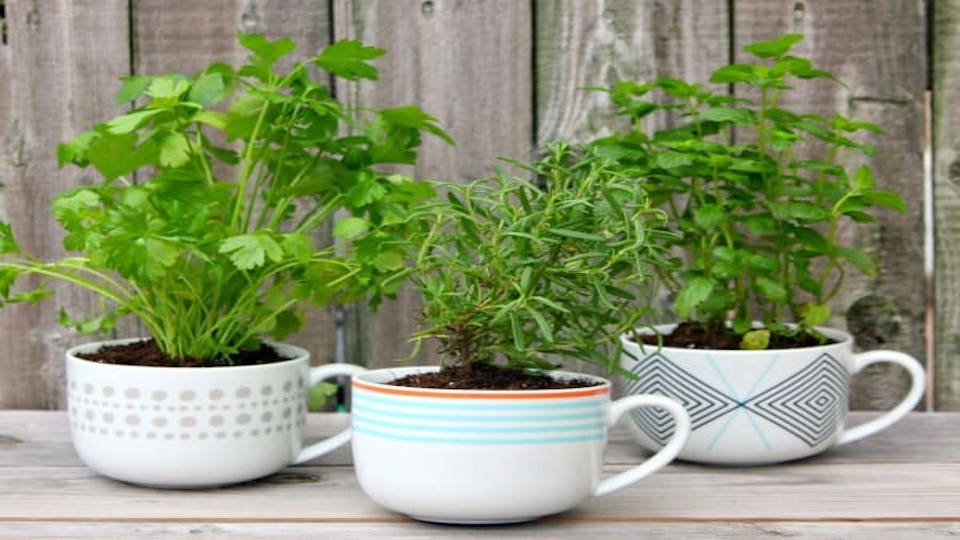
Coffee Mug Herb Collection
If you are like me, you have a ton of old coffee mugs sitting around. If not, you can acquire some pretty cheaply at your local thrift store or a yard sale. Coffee mugs make a great planter for herbs, the more whimsical the better. Just be sure that you put some pebbles in the bottom of the mug for drainage.

-Susan Patterson


