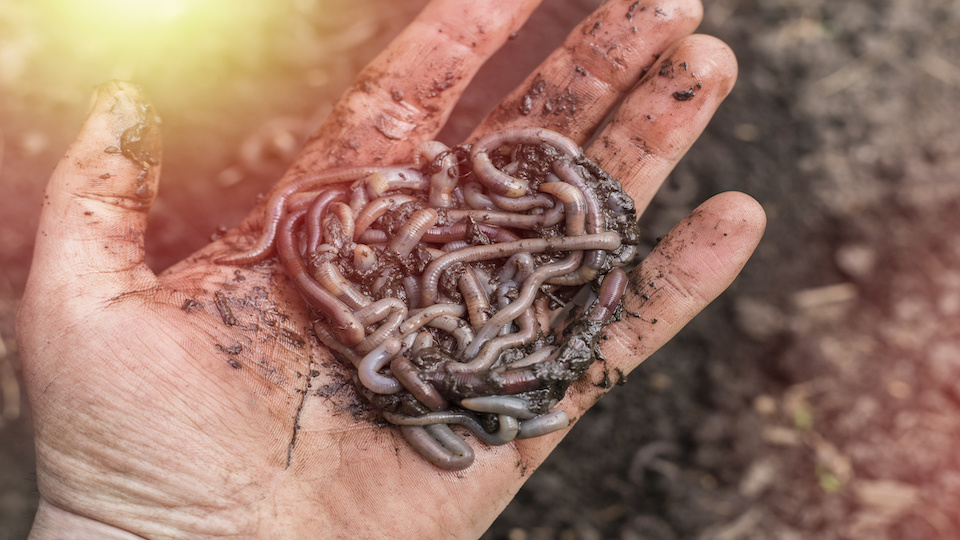
It’s not much to look at, but the lowly earthworm is essential for gardening and farming. We would be lost without it. These invertebrates work overtime to break down organic matter and are responsible for creating the fertile, nutrient-dense soil needed to grow plants. Your garden already has worms in it, but you can enrich the soil even more by using worms to create organic compost. Let them turn your kitchen waste into the nutrients that will help your garden grow.
Why Grow Worms?
Vermicomposting is the practice of using earthworms to break down organic waste materials into nutrient-rich compost. Essentially it means farming earthworms and letting them work for you. Earthworms feed on bacteria and fungi on organic materials, like leaves and food waste. They break materials down to create composts full of nutrients that you can put back in the garden.
While you’ll get the same end product as you would from an ordinary compost pile, worms work faster than the bacteria in a worm-free compost pile. And, you won’t have to turn your vermicompost because the worms will do it for you. You can even vermicompost inside, which is particularly useful in the winter and for apartments.
Step One – Find or Make a Vermicomposting Container
A quick search online will turn up plenty of containers designed for vermicomposting. Wood and plastic are typical choices for worm bins, and you can make one out of plywood or wood scraps or use plastic storage bins. The bin should have drainage holes in the bottom and a container underneath to catch moisture. Indoors, a plastic bin inside a larger one is a good set up. Use rocks or bricks under the smaller bin to raise it up and allow for drainage. If your compost is consistently too wet, drill more holes.
If building a bin outside, you can dig it right into the ground. This will provide insulation to keep the worms warm in colder months. Line the hole with wood planks. Both outdoor and indoor worm bins need to be covered to keep the environment dark and moist but don’t use a cover that fits tightly or seals out all air.
Step Two – Make Worm Bedding
Your worms will need some material to live in that should allow air flow and maintain moisture. Shredded cardboard is a top choice, but newspaper will also work. You can also find commercial worm bedding online or at gardening stores. Soak the bedding in water for 24 hours. Squeeze excess water from the bedding and use it to line the bin. Fluff it up to get air into the bedding.
Step Three – Buy Worms
Avoid the temptation to populate your worm bin with free worms from your yard. The best species for a vermicomposting bin is Eisenia foetida. Also known as red wigglers, these worms are well adapted to the warm, moist environment of the bin and will thrive.
They do need to be kept warm, though, which is why indoor vermicomposting is a great choice. If you do compost outdoors and have cold winters, make sure your bin has some kind of insulation, and if possible, bring it into a garage or enclosed patio.
The best place to find red wigglers is online, but check with local garden stores or bait shops as well. A good rule of thumb is to buy a pound of worms for every half pound of waste you expect to generate for the bin. A half a pound of kitchen waste per week equates to about four square feet of surface area in your worm bin. Once you have worms, just add them to the bedding and they’ll settle right in.
Step Four – Feed the Worms
Now you get to feed your new worms and let them get to work composting. Start slowly, though, and add just a thin layer of material in the first week. Put some extra bedding over the waste. You’ll know you have added too much kitchen waste too fast if it starts to smell. A vermicomposting bin in balance shouldn’t smell bad.
Waste you can add to the bin includes almost all vegetable and fruit material, tea bags, coffee grounds, and ground up egg shells. Avoid onion and garlic skins and limit citrus waste, which can make the environment too acidic. The smaller the pieces of waste you put in, the more quickly the worms will work through it.
Once you see rich, dark material in your vermicompost bin, you can remove it to use in potted plants or garden beds. Just keep feeding the worms and they will keep providing you with this fertile material.
-Mary Ellen Ellis