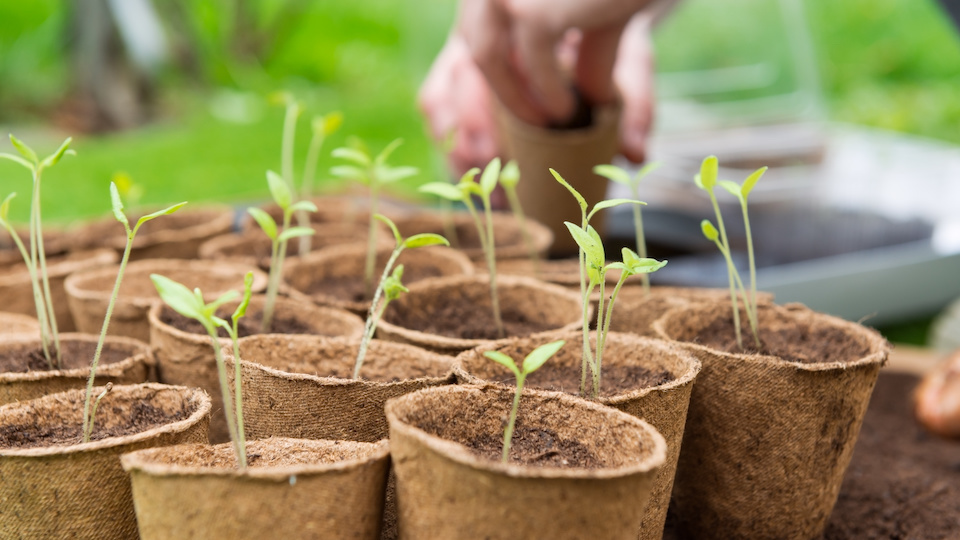
Hardening off your seedlings is the best thing you can do to prepare them for the harsh, unforgiving outside world that is so different from the regulated environment they have been in for the entirety of their short lives. Instead of simply sticking them in the ground (which is just setting them up for failure), take the time to acclimate them to things like wind, rain, and inconsistent sunlight to help them grow stronger and withstand environmental extremes. Follow these simple steps to harden off your plants and help them thrive.
Step 1: Begin early
Hardening off seedlings isn’t something that should be rushed in a matter of days. Take your time and begin the process at least two weeks before you plan to plant your babies outdoors. Follow planting guidelines for each particular plant to determine the date you should begin hardening off. This time is usually known as the frost date and should be indicated on the seed packet.
Step 2: Stop coddling
Once plants are left outside, they are pretty much fending for themselves other than some occasional watering and feeding. Unlike their early weeks, where you paid close attention to the burgeoning sprouts, begin the hardening off process by ceasing any supplemental watering or feeding about a week before they go outside.
Step 3: Start slow
Place your seedlings in an open box that will make it easier to cart them back and forth. The box will also help act as a windbreak and prevent moisture evaporation, which can quickly kill delicate seedlings. Place the box in a slightly sheltered area to begin (usually a little shade is a good idea) and leave your seedlings there for a few hours. Increase the time each day for a week until your seedlings are outside for around 8-9 hours.
Step 4: Bring it up a notch
During the next week of the hardening off process, keep your box in the shade and move it to the sun for a few hours and then back to the shade. Follow the same process, increasing by an hour every day until your plant is spending the whole day in the bright sun. Continue bringing the box in at night while you are hardening them off.
Step 5: Plant them
Once your little seedlings have gotten used to the sun, wind, rain, and chill of the great outdoors, it is time to plant them in the garden. Keep them moist and give them a dose of fertilizer to help set them up for success. If you are still experiencing chilly nights, it may be a good idea to cover them with fleece or row covers for a few weeks. Follow planting instructions, and don’t be discouraged if every seedling doesn’t survive. However, if you followed the hardening off instructions, your seedlings are likely sturdy and ready to grow into healthy, productive plants.
Note on greenhouses
Using a greenhouse or cold frame to harden off seedlings is an excellent idea if you have one available. Follow the same basic premise, but instead of moving your seedlings inside, simply prop open the cover on the cold frame or leave the door to the greenhouse open during the day. This is usually more convenient and will allow you to grow many seedlings without having to worry about indoor growing space and setting up a UV light system. If you are growing seedlings in a greenhouse, keep it heated in the early spring and begin to cut back on the heat as you harden off your baby plants.
Why start seeds indoors
While many seeds can be planted directly into the garden, if you live in a climate with a short growing season or want to get a jump on the harvest, starting seeds indoors is a great way to get the most out of the warm weather. Not all seeds flourish when transplanted, which means that they may do best when direct-sown, so be sure to do your research on any new plants you are growing this season. The following plants, on the other hand, will thrive when transplanted and make excellent candidates for indoor-starting.
- Broccoli
- Brussels sprouts
- Cabbage
- Cauliflower
- Eggplant
- Kale
- Lettuce
- Onion
- Okra
- Pepper
- Sweet potato
- Tomato
-Taylor Ramsey


