Now that your garden is going gangbusters and you have a bit of a reprieve from your planting, it’s a good time to engage in some super fun garden upcycling projects. You will be amazed at what you can make to decorate your garden with items you have lying around. Below you will find a few of my favorite garden recycle projects. Have fun!
Old Tire Planter
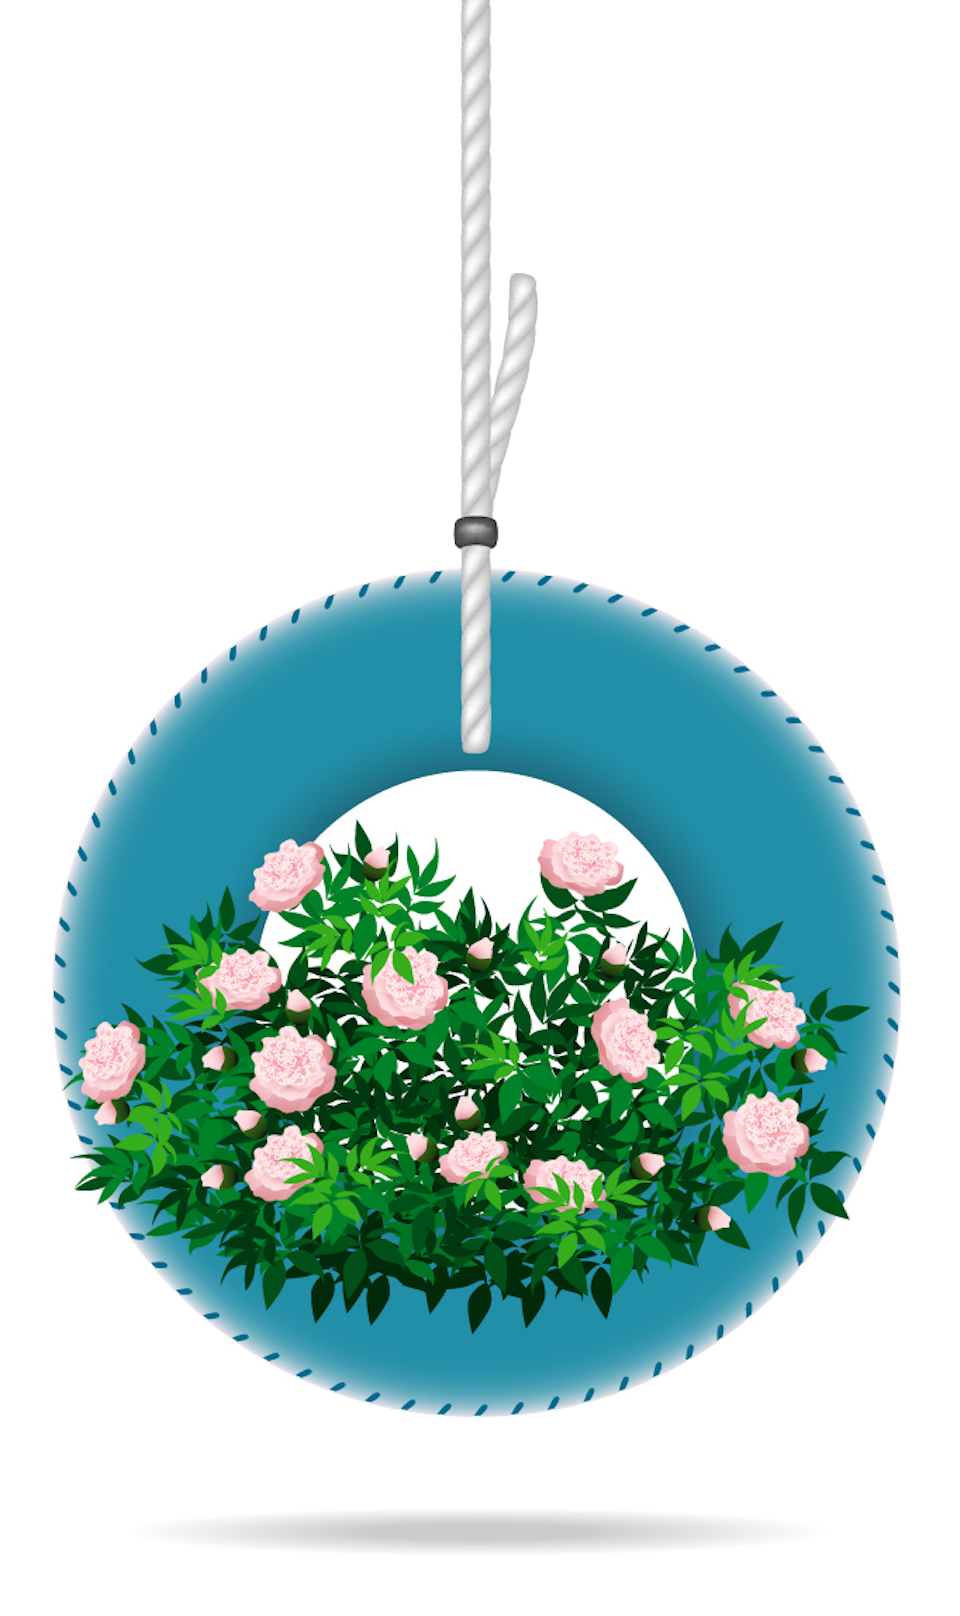
One of the things I love about this project is that there are so many tires, everywhere you look, you can find tires, and they just clutter up the landfills horribly. This fun and super simple project upcycles a motorcycle or an ATV tire to create a bright and cheery planter that you can hang anywhere in your garden.
What you need
- Old motorcycle or ATV tire
- Durable, non-toxic outdoor spray paint
- Potting mix
- Flowers and plants
- Drill
- Strong rope
How to make it
- Make drainage holes in the bottom of the tire using a drill. Space them evenly along the bottom.
- Spray paint the tire a few times, allowing each coat to dry before preceding with the next.
- Tie the strong rope around the top of the tire and hang in the desired location.
- Fill the tire with lightweight potting soil and your favorite plants!
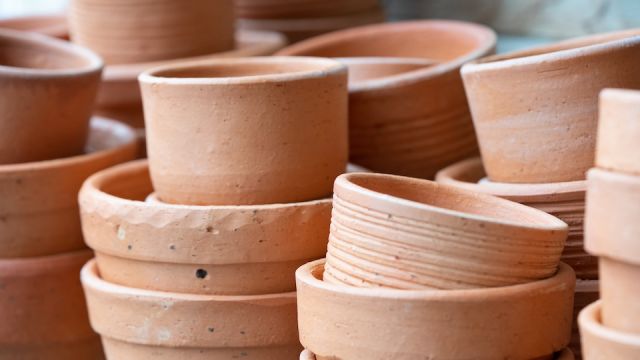
Clay Pot Mushrooms

If you are a gardener, chances are you have a few clay pots hanging around in your garden shed. With a little paint, you can create your very own mushroom garden decor that adds some whimsy to any outdoor space.
What you need
- 3 round clay garden pots, different sizes
- 3 clay drain plates to match pots
- Spray paint, white, and other colors for top of mushrooms
- White acrylic craft paint
- Clear, waterproof spray sealer
- 2-inch wide round sponge
- Small paintbrush
- Outdoor glue or epoxy
How to make it
- Spray paint the outside of the pots white and the underside of the drain plate a contrasting color. Several coats may be necessary to cover completely. Let dry for 24-48 hours.
- Make the dots on the mushroom tops by dipping the sponge in white acrylic paint. Be sure to coat the sponge liberally and press it firmly on the plate, removing quickly to leave a white dot. Fill in any areas you may miss using a small paintbrush. Repeat this to make randomly placed dots on each plate. Let the dots dry completely.
- Cover all painted surfaces with a waterproof sealer. Let it dry for at least 24 hours.
- Assemble the mushrooms by placing the center drain plate, painted side up, on top of each upside-down pot. Use waterproof outdoor glue or epoxy to attach the drain plate to each base.
Gleaming Glass Garden Flowers
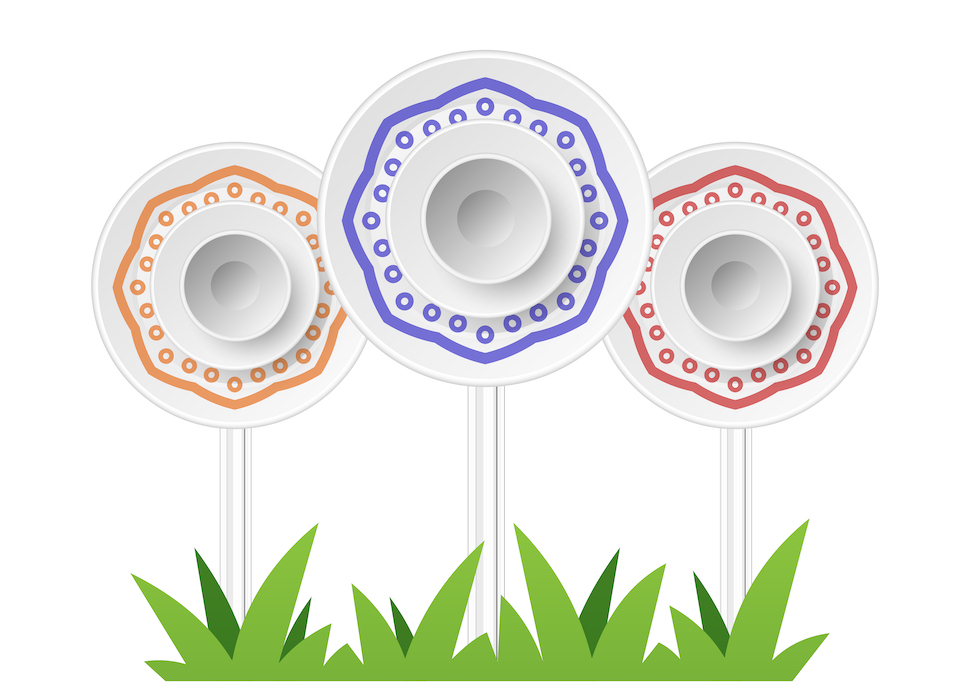
Don’t throw those mismatched glass plates, bowls, candleholders, etc., out. Turn them into something beautiful for your garden. Glass garden flowers are eyecatching and will add vibrant color to any outdoor area. They also make great gifts to give to friends and family.
What you need
- 3 glass plates, bowls, or dishes in different sizes
- Small glass vase, candleholder or salt, and pepper shakers
- 1 small glass vase that has one flat side
- Alcohol wipes
- Glass paint
- Sponges or paintbrushes
- Glass markers
- Waterproof, clear silicone
- Copper, metal or PVC pipe
How to make it
- Clean the glass using alcohol wipes and let it dry.
- Use a sponge or paintbrush to paint the glass pieces. Cover them entirely, adding stripes, circles, or petals. You may need to use a couple of layers for full coverage. Add small details using glass markers.
- Bake the glass pieces according to the directions on the paint bottles. Be careful as fragile plates can break in the oven. Open all windows and turn on fans as the paint does give off an odor. Let the glass pieces cool in the oven (after turning off) completely before removing them.
- Put down some newspaper on a level working surface. Lay the largest plate on the paper and add some silicone to the bottom of the next largest piece and press it down firmly on the larger plate. Continue this method, adding smaller pieces until you have created your flower. Let the pieces dry overnight.
- Apply silicone to the smallest vase, holding it upside down and press it into the back of the flower. This is the mount that will fit over the pipe for displaying the flower. Let this dry overnight.
- Pound the pipe into the ground, and slip the flower down onto the pipe. Do this for each flower you make.
- Grouping flowers of various sizes together for a dramatic display.
-Susan Patterson