fb

MENU

The One Herb Everyone Should Grow Now

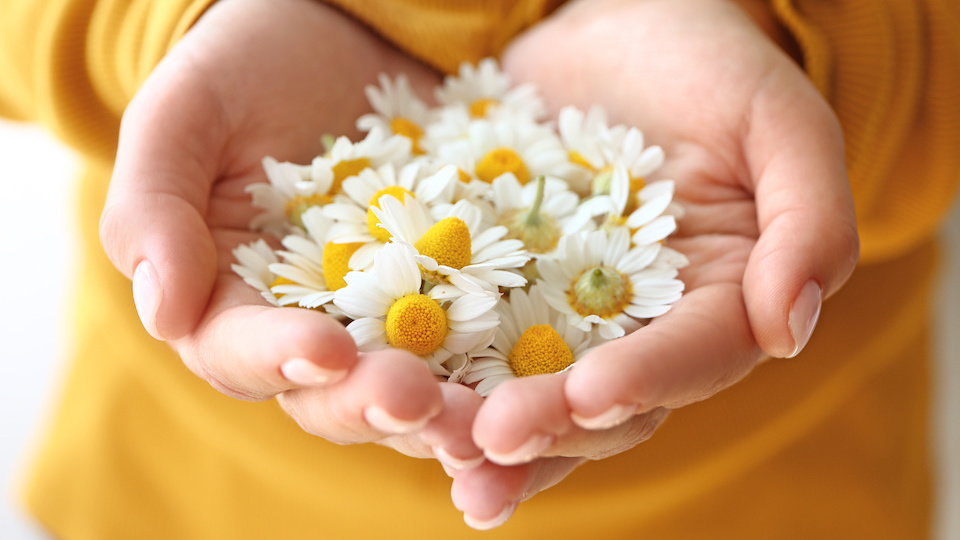
During these uncertain times, fear and anxiety for the future are commonplace. If you’re struggling to relax and find that you can’t unwind, it may be time to plant a lovely, aromatic patch of chamomile in your herb garden to help ease your worries. Here’s why we love this useful herb and how you can grow some today. 

Roman vs. German chamomile

There are two types of chamomile, so it is important to understand exactly what you are planting. German chamomile produces long, flimsy stems and tons of delicate white flowers that look very similar to daisies. This is the variety that is most frequently used for tea and tinctures since it produces an abundance of blooms. Roman chamomile is usually used as a fast-spreading groundcover to fill in holes in your garden and provide a nice, fragrant element.

Both varieties are technically annuals but will reseed and spread with vigor, allowing them to come back every year, so keep that in mind before you choose a planting spot. German chamomile will add a beautiful pop of white to any kitchen herb garden, and it is a great plant to have on hand. For the rest of this article, we will be referring to the German Chamomile variety as it is the best herb for various kitchen and beauty uses.

Why you should grow it

Chamomile isn’t just a fragrant, attractive addition to your herb garden. It can be used for a wide variety of tinctures and tonics that can help ease insomnia, reduce anxiety, and help even help reduce inflammation and menstrual pain. 

During these stressful times, chamomile may be just the herb you need to help relieve some of that pent of fear and anxiety. Plus, if you are experiencing digestive issues due to excess stress or an altered diet, chamomile could help alleviate stomach discomfort, gas, and bloating. 

If you have a little extra time on your hands due to lockdown or decreased work hours, why not consider making some DIY healthy and beauty products with this soothing herb. Chamomile is often included in many personal care products due to its anti-inflammatory, skin-soothing properties. Combine it with oatmeal for ultimate nourishment and exfoliation. 

How to grow

Start seeds indoors under a grow light about six to eight weeks before your last expected frost date. This will give the seedlings time to grow and will help give them a good start for transplanting into your garden. Lightly tamp down the seeds into your growing medium and mist with water to avoid disturbing the seeds.  

Once all danger of frost has passed, transplant seedlings to the garden, leaving a space of about eight to twelve inches between plants. Water thoroughly when planting, making sure that your soil is well-draining and has been amended with organic compost. Like many other herbs, chamomile thrives when left to its own devices. Water frequently until the seedlings put down roots and then only occasionally to let the roots dry out slightly between waterings. In just a few weeks, you should see your first blooms developing on the spindly, green stems. 

Since chamomile is so hardy, it doesn’t require any fertilizer and will grow strong and tall with very minimal care. Plus, it doesn’t attract many pests or diseases, which makes it a wonderful “leave it and forget it” herb.

Harvest 

Once the flower petals begin to curl downward, cut off the flowers and lay them on a mesh surface to dry. Chamomile leaves tend to be bitter and unappealing, so once your cut off the flowers, trim the stalks to about six inches above the ground. Leave the spent stalks on the ground as they will decompose quickly and add essential nutrients back into the soil.

Though you can use fresh flowers for tea, drying this useful herb will let it last longer, and you won’t need as many flowers since the flavor will be more concentrated. Keep the flowers spread out for about a week in a cool, dry place and store in a glass jar or airtight bag for use in the kitchen.

Making tea

One of the best ways to reap all of the amazing benefits of chamomile is to brew a nice, aromatic cup of relaxing tea. Measure out about two tablespoons of dried flowers for every eight-ounce cup of tea you wish to make. Boil water and pour it over the flowers, letting it steep for about five minutes. Then strain through a fine, tea sieve. Feel free to add any of your favorite herbs, such as mint, to mix up the flavor a little bit. You can also use local raw, honey, for sweetener, lemon for a bit of zing, or a little creamer for a wonderful nighttime drink. 

-Susan Patterson

What is an Herb Spiral and Why You Need One

This innovative garden method is the urban gardener’s dream. It takes a long, space-monopolizing row bed and turns it into a compact, efficient spiral that utilizes vertical real estate and creates an ideal environment for many types of herbs. So what exactly is an herb spiral and why should you build one in your garden? Read on to find out!

What is an herb spiral

An herb spiral is exactly what the name suggests. It is a coiled garden in a raised spiral shape. This design was created by author and gardener Bill Mollison and was inspired by many spiral shapes that are found in nature such as snail shells and seashells. The spiral ramp is wide enough for most common herbs and creates a highly productive, energy efficient garden ideal for a compact space.

The herb spiral allows you to plant many herbs together that wouldn’t normally do well in the same garden because it creates microclimates in the small area. When you water an herb spiral, you water from the top and allow the moisture to flow down along the natural curve of the bed. This makes care incredibly intuitive since you don’t have to worry about over or underwatering. In an herb spiral, plants that are on the bottom layer of the spiral should be ones that don’t mind the soil staying a little bit wet, such as mint and cress, while the top of the spiral stays reserved for herbs that prefer dry soil such as rosemary and oregano.

Benefits of an herb spiral

So why not just plant your kitchen garden in a typical raised bed? Aside from saving space, what are the benefits of an herb spiral?

Acts as an insulator

The stones, bricks, or blocks that you use to build the bed will act as an insulator and help the soil retain heat during the colder months. More heat means you get to enjoy fresh herbs later in the season.

You can easily access all sides

Since it is a round garden, it is easy to access all sides for planting, harvest, and care. You don’t have to worry about trampling other herbs next time you need to grab some cilantro for your homemade salsa.

It looks cool

Everyone will be asking about your herb spiral once it is bursting with fragrant plants. Creating one is deceptively simple, and it adds an interesting element of height and stone to your garden.

Varying levels of sun exposure

Not only does the herb spiral allow you to customize your herb garden according to water needs, but you can also plant based on varying sun requirements. It is best to place your herb spiral in a sunny area since most herbs prefer bright sunlight. However, some don’t want as much as others and can be planted accordingly on the shady side of your spiral.

You can plant it right on your patio

Herbs should always be planted as close to your kitchen as possible. This makes it more likely that you’ll run out to grab a few extra garnishes before your evening meal and you won’t have to worry about traipsing through your whole garden to find some mint leaves for tea. Herb spirals aren’t restricted to an open area of soil. Since it is technically a raised bed, it can be created right over concrete or any other unyielding ground.

Low maintenance

Once established, herb spirals practically take care of themselves. In many areas, most herbs are perennial and will come back every year. Plus, the longer they have been growing, the less water and care they will require.

Total control over the soil

Unlike planting straight into the ground, where you have to go through the arduous process of amending the soil and mixing in compost, an herb garden allows you to have complete say over what goes into the soil. This allows you to ensure only the best quality compost and planting soil are used and protects from excessive weed growth.

You can install a pond at the base

If you love water features in the garden (and let’s be honest, who doesn’t?) you can dig out an area for a small pond at the “end” of your spiral, or where the water runoff goes. Install a small pond with a bubbling fountain and your excess water won’t go to waste. This added feature will help make your herb spiral truly stand out in your garden.

Interested in making an herb spiral? Stay tuned for our next article to learn how to build one in just a few simple steps!

-Taylor Ramsey