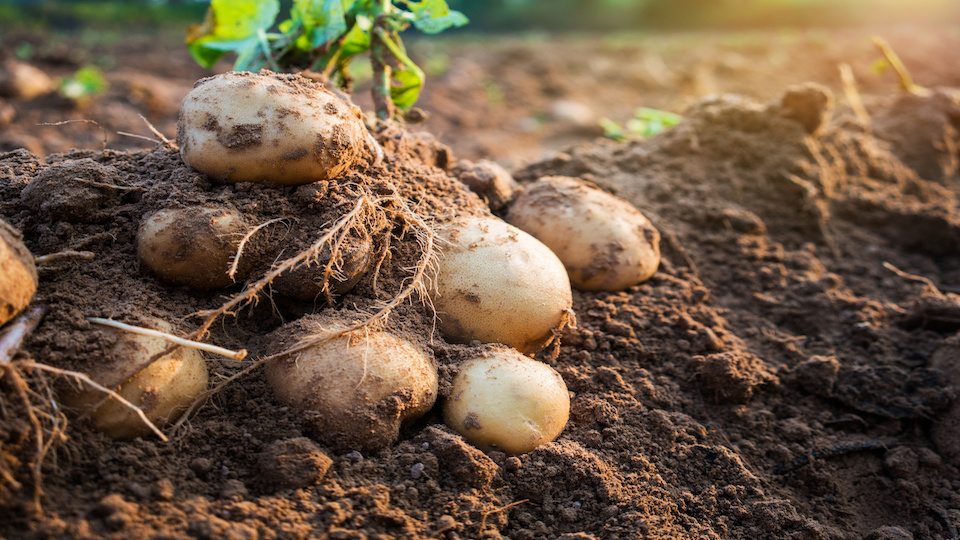
Are you ready to be a successful potato gardener? This versatile starchy tuber is easy to grow and can be cultivated by anyone with great success, even the novice gardener. The best thing of all is that there are endless possibilities when it comes to growing potatoes so everyone can get in on the action.
Any potato tuber is a potential potato plant or can give rise to several of them. However, grocery store potatoes are not recommended for starting new plants because they’re often treated with chemicals to prevent sprouting. Organic potatoes may not be chemically treated, and you can perhaps take your chances with them, but only if you can’t find certified seed potatoes. These are specially grown for planting purposes and are certified to be free of diseases, so they usually give better results.
If lack of space is a concern, there are ways to grow spuds using a variety of containers. They are not particularly fussy and will reward you with the most delicious potatoes you have ever tasted.
Another benefit of growing your own potatoes is that every once in a while you can pick a few new potatoes. These thin-skinned, crispy spuds are the best for salads and fries as they’re not as starchy as mature tubers.
Preparing seed potatoes
To prepare potatoes for planting, cut the bigger tubers into smaller pieces so that each piece has 2-3 eyes. Let the cut surfaces dry out for 2-3 days to form a callus that will keep out pathogens that may cause rot. Some gardeners coat the pieces with sulfur dust. The smaller tubers can be planted whole with the end that has maximum sprouts facing up.
Some traditional as well some fun ways to grow potatoes:
Planting in rows
This is the traditional method, which works well in large gardens. Dig long ditches parallel to one another, adding compost and double digging to loosen up the soil. Allow 2 feet between rows for plants to spread and to make it easier to tend to them.
Place the prepared seed potato pieces one foot apart with their cut side down. Cover with 3 inches of soil and press down lightly to ensure good contact between the tubers and soil — water well and mulch with straw to keep the moisture in.
Potato plants need regular watering and feeding with a good NPK fertilizer, especially when they’re young. Good drainage is essential, so if the soil is clayey, plant on raised beds with straw mixed in. Add layers of mulch and soil around the lower part of the stem as it grows, to shield the spuds from light exposure.
Planting on little mounds
When you’re planting only a few tubers, you can plant them on little one foot mounds of soil. This will ensure good drainage as well as accessibility from all sides. Plant 2-3 pieces on each mound by making a small depression. Cover with soil and straw and water well. Top up with more soil and mulch periodically until the plants start to flower.
It takes approximately 10 -20 weeks from planting to harvest. The plants will let you know when it’s time to pull them up. After the plants start to decline and die, allow 3-4 weeks to let the tubers harden.
Potatoes in grocery bags
This is an easy, no-dig method to grow a bagful or two of potatoes in small spaces anywhere. Any sturdy bag made of plastic, canvas or cloth may be used after punching several holes at the bottom and lower half of the sides. Keep the bags on a pair of bricks to lift them up. This will help avoid waterlogging at the bottom.
Fill the bottom 3 inches with straw and fold the bag on itself to half its height. Fill with potting soil and compost up to 2 inches from the top. Insert 2-3 seed potatoes into the mix if the bag is large sized. Otherwise, use just one per bag. Feed weekly with a potato fertilizer and water before the soil begins to dry out. Top up with more potting soil as the plants grow, unrolling the sides to accommodate the additions.
Potatoes in burlap sacks
Similar to the above method, the burlap sacks may be positioned anywhere and filled and planted the same way. Burlap allows good drainage, but more frequent watering may be required to compensate for the water loss from all sides. Harvesting is easy: just turn the sacks upside down and shake out the contents.
Bucketful of potatoes
Large buckets, preferably of 5-10 gallon capacity, can be used and reused to grow potatoes after drilling several holes at the bottom and sides. Avoid overwatering to prevent rot.
Bin within bin method
This two-bin system has an outer container with drainage holes and an inner one with several large windows cut into its sides. Fill the internal bin with high-quality planting soil and potato starts.
Once the roots grow and spread, the inner container can be gently lifted off to expose the growing spuds. This is a great way to harvest a few new potatoes when required. You can start pulling out new potatoes 2-3 weeks after the plants stop flowering.
Potatoes in a chicken wire cage
This is another no-dig method designed for the garden. Roll a 3 ft. length of chicken wire into a cylinder and tie the ends together with pieces of wire. Stand it upright, supporting it on iron bars driven into the ground. Fill it halfway with compost and garden soil and plant 5-6 seed potatoes. Top up as usual, and the end of the season, simply lift the cylinder up to harvest the spuds.
Potatoes anyone?
-Susan Patterson


